It’s been a couple of weeks since I took this class, and I’m sad to say I haven’t made the time to either go back and do more, or even write this post up. But I enjoyed this class so much I want to spend the time (and hopefully inspire myself to get back to it!).
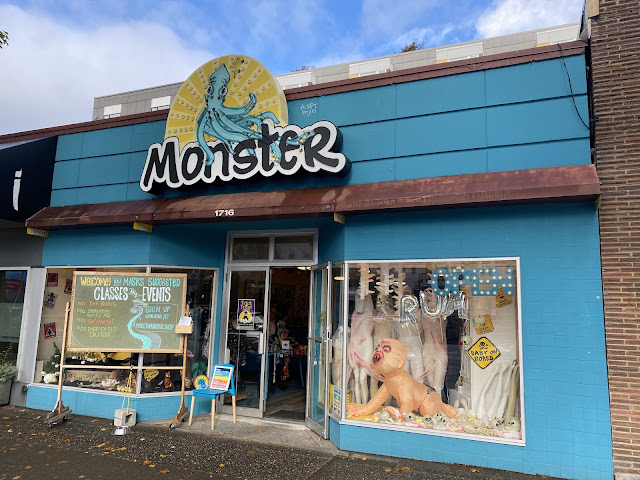 |
My favorite local shop, Monster, also hosts a busy number of creative classes. I’ve taken a few — a block printing course where I made an amusing stamp or two:
|
A patch embroidery class where I ran out of time but really enjoyed it:
A map embroidery class that I can’t wait to tell you about:
And this: suminagashi.
Suminagashi 墨 流 し or “floating ink” is the process of marbling plain paper with water and ink. Like many things, the simplest version is incredibly easy… but I can imagine it taking years to really master the art.
Lovely Robert Mahar, on whom I have an artist crush, was offering this course. It felt like the universe was answering a request — I wanted to work with him on embroidery, and I also wanted to learn how to make suminagashi. And there it was, a class at my favorite store, on a weekend where I was home. Perfection.
I was a little nervous about it — would I be able to make the patterns? Would mine turn out nicely? But Robert was soothing and encouraging and enthusiastic… and did I mention if felt like magic?
A little tub of water, two paintbrushes, and some oily ink or paint. You put one brush in each hand, soak up some ink in each, and then just touch the tip of the brush onto the water, You alternate the touches — left, right, left, right — creating concentric rings. Moving air, a slightly bumped table, nervous hands create some motion. And then, you have this.
The ink floats on the surface, looking a bit pale and transparent. You can see the shadow of the dark rings on the bottom of the white tub of water.
Then you take non-glossy paper and gently lay it on top of the water. You can actually see it absorb the ink, which lets you know when you can pick it up. And then, this:
I love seeing the ink as well as the print — now it changed, slightly, when I imperfectly lay the paper to pull the print. So satisfying!
The act of dipping the brushes in the water, watching the rings form, changing the amount of ink on the brushes or the time you left them in contact with the water and seeing the effect that had on the rings. It was soothing and fascinating and completely, totally magical.
After pulling a print, you simply brushed paper towel across the top of the water bath and started again. I played with colors (not traditional in Japan, mind you, but fun as they were available) and feared that they weren’t very vibrant … until I pulled the prints.
I didn’t really do much to manipulate the inks; though one can use air or “combs” to move the floating ink. Each print was pulled, then layered with paper towels to keep them separate. I took them home damp but was thrilled when I saw that the yellows remained so vibrant after drying.
We also printed on some silk hankies — slightly too large for the inexpensive bins we used in class, so they have an un-printed edge.
(Not the best photos — but these are very pale with subtle patterns and colors.)
It’s been a couple of weeks since I took the class, and as I said earlier, I haven’t gotten back to playing with this technique. I’m thinking about printing on linen and embroidering over it… or printing on card stock and then block printing over it to make Christmas cards, etc. I’ve been working on some paper craft projects lately, so I think I’ll make some “notebook covers” on heavy card stock.
(Now I’m antsy to get my inks back out — mission accomplished!)